
Yvonne at Quilting Jetgirl used to run a special linkup called Tips and Tutorials Tuesday, which is still a great collection of useful resources on her blog, so if I'm going to publish a tutorial, why not do it on a Tuesday?


My Funky Succulents quilt is, essentially, a reimagined Succulents Sampler just to show a different possible layout for the 3D appliqué. I made it before teaching a workshop on this technique, but in it I decided to replace the snake plant with the aloe for a change. So, the aloe was not covered in the workshop and to make up for that I shot step-by-step images of the process; it's about time to get them out.
So here we go. Make your own cute little succulent in a pot, it can be wall art on its own or a part of something bigger, and I hope it will give you ideas for more fun stuff. Best thing is - it's really really easy.


Here is a reference image, what about painting the edge pink next time? It will stop the fraying, too.

Once all your leaves are ready you can start stitching them to the background, plan the position first, then only attach the bottom parts leaving the tops free. Do one leaf at a time. The stitching doesn't have to be nice or invisible, because it will be concealed by the pot anyway.

And so on until you assemble your plant. The small leaves tend to be in the middle, larger ones - on the outside.


... press and close the gap with hand-stitching.

So, now you only have to pin your pot in place, rounding it slightly so it hugs the plant and has a rounded shape on top. Use invisible stitching with a matching thread to secure it in place.

Step back and admire.

Linking up to Can I Get A Whoop Whoop at Confessions of a Fabric Addict
Off the Wall Friday at Creations by Nina-Marie


My Funky Succulents quilt is, essentially, a reimagined Succulents Sampler just to show a different possible layout for the 3D appliqué. I made it before teaching a workshop on this technique, but in it I decided to replace the snake plant with the aloe for a change. So, the aloe was not covered in the workshop and to make up for that I shot step-by-step images of the process; it's about time to get them out.
So here we go. Make your own cute little succulent in a pot, it can be wall art on its own or a part of something bigger, and I hope it will give you ideas for more fun stuff. Best thing is - it's really really easy.

You'll need:
- a quilted sandwich at least 8'' square (your background fabric, batting and backing quilted any way you like);
- two fabric scraps for the pot about 4'' sq;
- a scrap of batting same size;
- a piece of green fabric about 10'' sq, or two slightly different shades of green half the size (batiks work best as they fray less);
- thread to match the leaves and the pot;
- a little bit of toy stuffing or batting scraps.
You can print out this template, but it might be easier just to hand draw the shapes, they are really basic, just make sure the bottom part is sight wider than the top one.
Process:
Trace and cut the leaf shapes, adding 1/8 seam allowance (it doesn't have to be precise as you'll trip it later anyway). I made three smaller leaves and three larger ones, each leaf has two parts, in my case the top is a slightly darker green.

Stitch the two parts together, trying to keep 1/8 from the edge. You'll need to align first one side than the other, when you get to the tip.

You'll see that the stitched leaf is already 3D.

Stuff the leaf with toy stuffing or scraps of batting fluffed out to resemble cotton wool (it'll be less bumpy this way).

Trim the seam allowance cutting out curved notches, so that the remaining edge forms characteristic points.

Here is a reference image, what about painting the edge pink next time? It will stop the fraying, too.

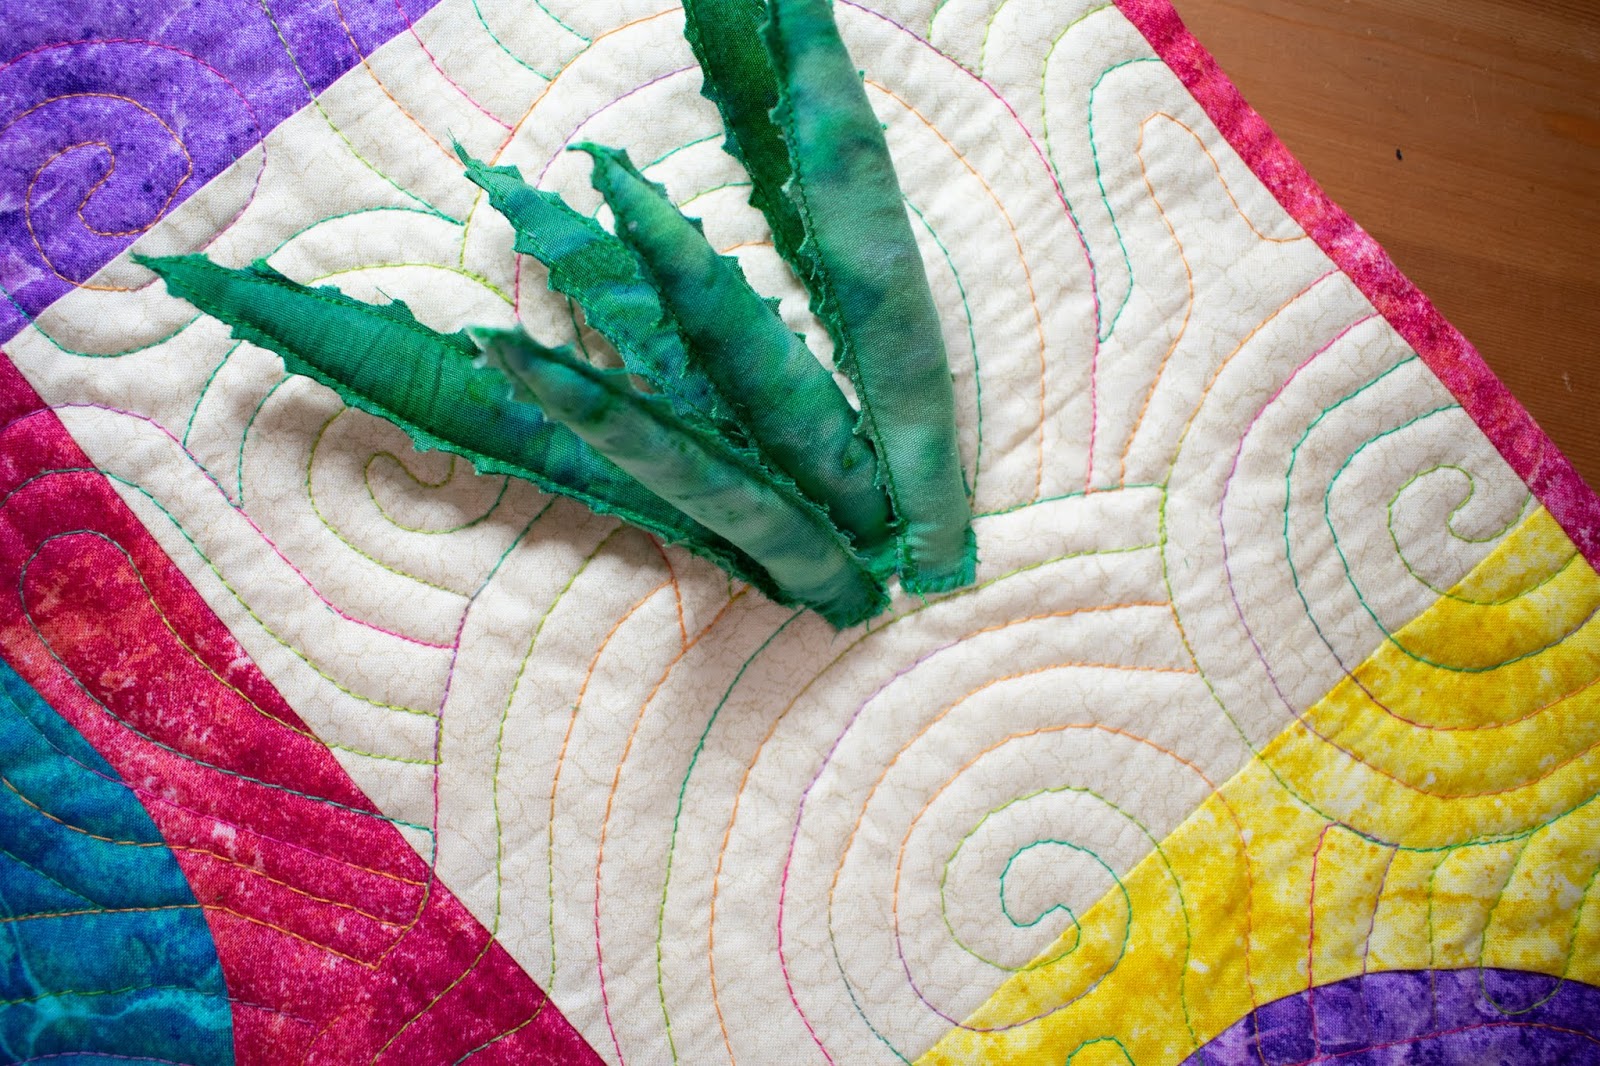
Once all your leaves are ready you can start stitching them to the background, plan the position first, then only attach the bottom parts leaving the tops free. Do one leaf at a time. The stitching doesn't have to be nice or invisible, because it will be concealed by the pot anyway.

And so on until you assemble your plant. The small leaves tend to be in the middle, larger ones - on the outside.
Now to the pot. Cut out two fabric pieces and one piece of batting, adding 1/4'' seam allowance (or not adding if you want a smaller pot). Now layer one fabric piece right side up, the other one right side down and batting on top. Align all three layers and stitch around, leaving a gap in one side for turning out.

Turn out, ..


So, now you only have to pin your pot in place, rounding it slightly so it hugs the plant and has a rounded shape on top. Use invisible stitching with a matching thread to secure it in place.

Step back and admire.

Linking up to Can I Get A Whoop Whoop at Confessions of a Fabric Addict
Off the Wall Friday at Creations by Nina-Marie
Fun cactus ;)
ReplyDelete
ReplyDeleteThank you for the tutorial of the 3D aloe plant. Your directions were very clear.
This is really clever. I love succulents and this is a very nice rendition in fabric. Well done!
ReplyDeleteWhat a fun quilt. I love how it turned out.
ReplyDelete