Showing posts with label ticker tape quilt. Show all posts

Thursday, 2 July 2020

Template for Lily The Dragon

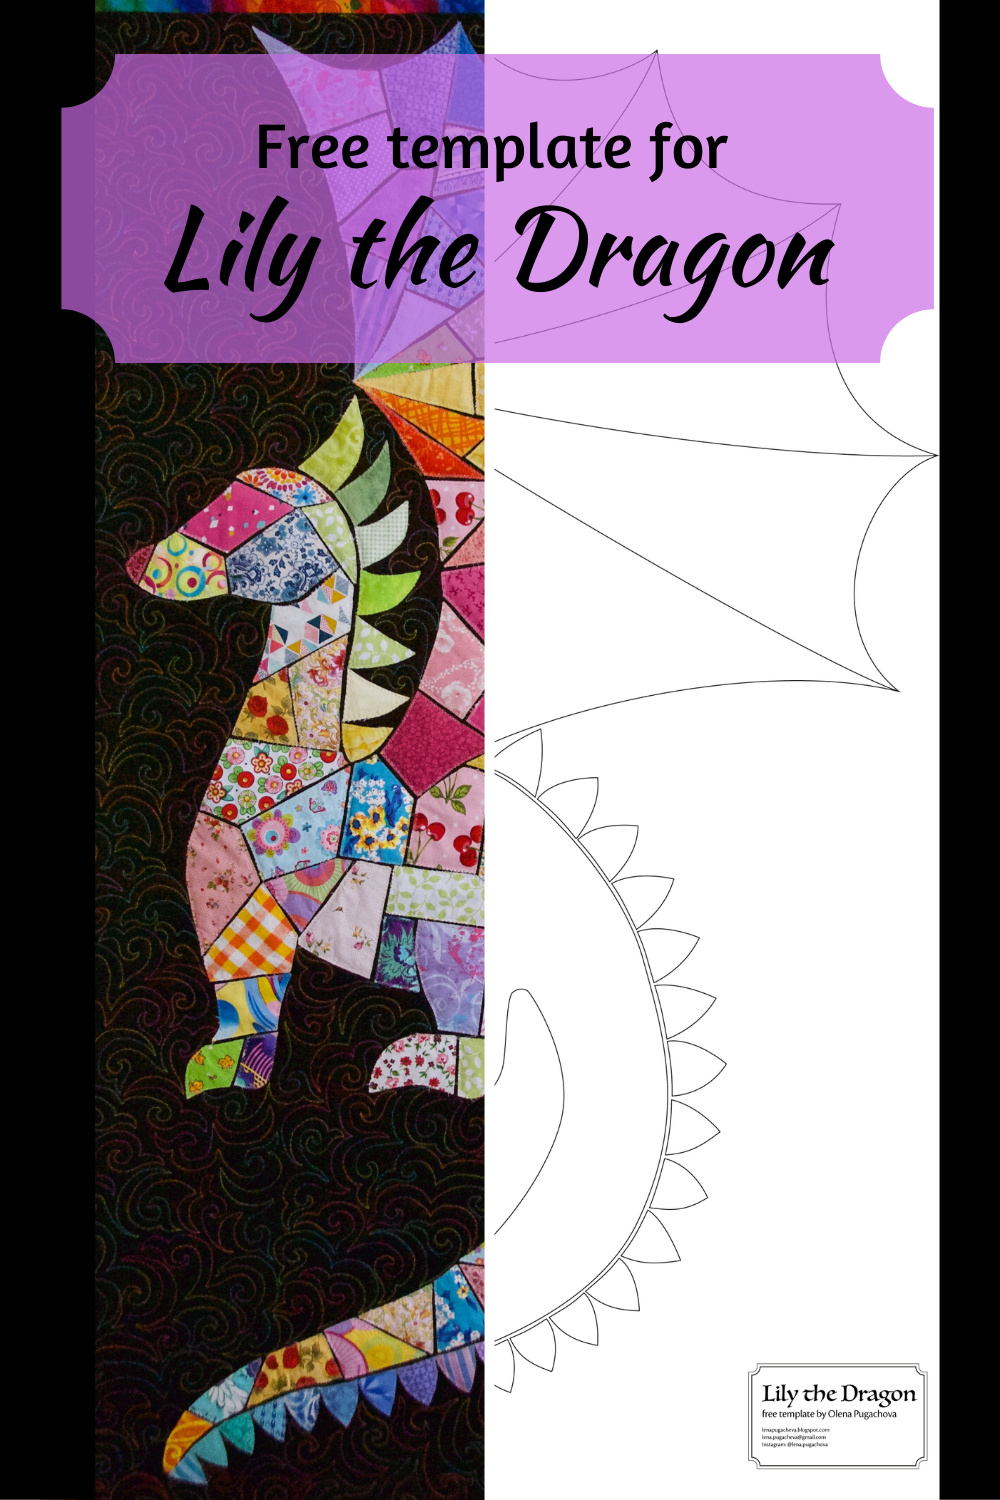
Several people have asked me for a pattern for Lily the Dragon quilt and I replied that it is an improvisational technique that does not require a pattern per se. However, I decided I can share the outline, let's call it a template, which can be a starting point for anybody who wants to make their own dragon, so here you go.


You can find a lot of tutorials on the "ticker-tape technique" online, I can recommend one by Ruth from Charly and Ben's Crafty Corner as I learned this technique in her workshop. I'll just quickly outline the process here, with the differences I made.

  • So, to begin with, you can download the template and print it out (use "poster" setting in the Acrobat printing menu if you are printing it on a home printer and it will split the image onto multiple pages which you'll have to glue together). The image is 30'' by 50'', but if you want a different size, you can tinker with image scale, just bear in mind that if you make it too small it will get too fiddly.


  • Next, you'll need to transfer the template onto your background fabric. I used black background, and this is what makes her really pop and creates a stained glass effect, but it will also make image transfer trickier. I can suggest making holes along the lines in the paper template and tracing them with chalk. Alternatively, just cut out the large shapes and trace them around with a white pencil or washable marker (in this case you can just freehand the spines). I didn't stitch around the outline as I thought it would not go with the stained glass effect.
  • Assemble your quilt sandwich and baste it in your preferred method.
  • Now you can get out your scrap basket and start playing. If you go for a black background, bright and light-coloured fabrics are best, in my case I used patterned ones for the body and blenders for the wing and the spines. The exact shape and positioning of the pieces will depend on the scraps you have, you'll just need to trim them to follow the line of the template on the outside. Leave from 1/8'' to 1/4'' between the pieces. Ones you fit several pieces in place, secure them with pins, glue or fusible tape and take the sandwich to the machine. I used quite loose zigzag stick with a neutral thread to stitch around all the pieces. Again, check out Ruth's tutorial for the details.
  • Continue the process bit by bit until you fill in the outline. Because you are stitching through the quilt sandwich, it will also mean you have already quilted the dragon shape!
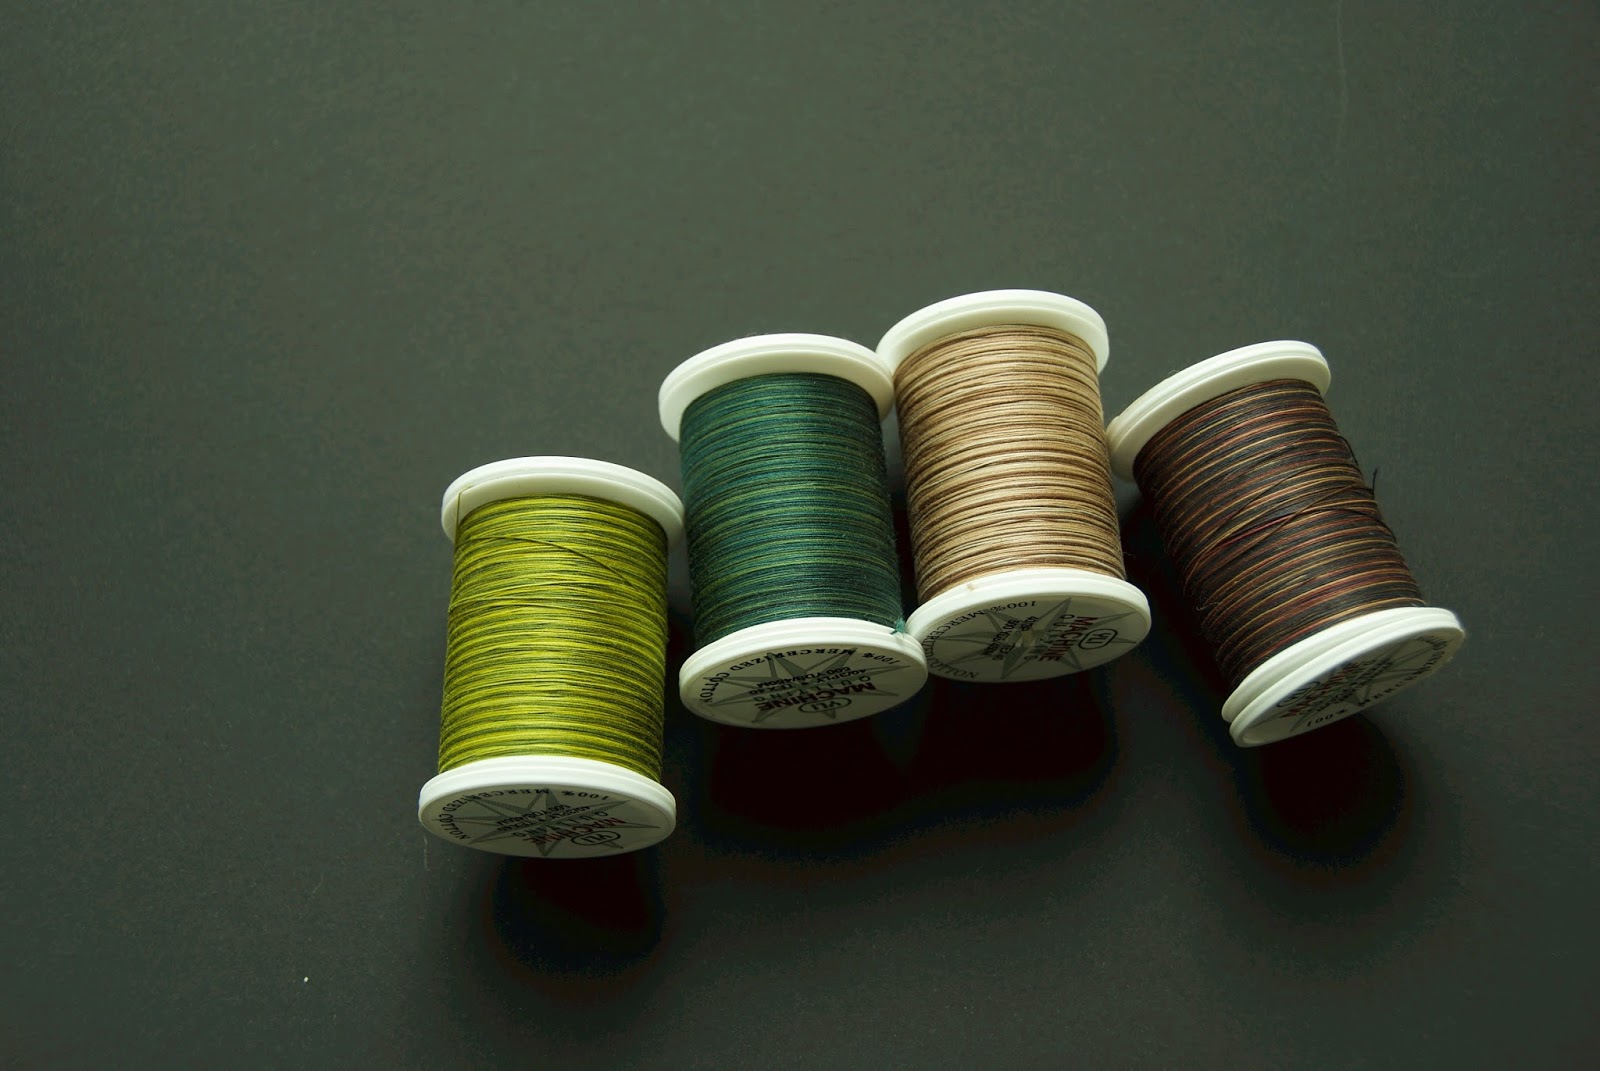
  • So, all that is left is quilting the space around her, and here the sky is the limit -  you can create a whimsical landscape around her or just go for echo quilting. I tried to use Angela Walter's Swirl hook pattern, it didn't turn out great, to be honest, but I still love the overall effect created by the bright variegated thread (it was one of YLI machine quilting threads).
I really hope this is helpful, if you have any questions, please feel free to contact me, and if you make your own dragon, please send a pic or tag me on Instagram, I'd be thrilled to see it!
Lily the Dragon quilt pattern

Linking up to:
Off the Wall Friday at Creations by Nina-Marie
Can I Get a Whoop Whoop? at Confessions of a Fabric Addict
TGIFF at Devoted Quilter

Sunday, 30 April 2017

Lily the Dragon

UPD:
After some people asked me for a pattern, I decided to share a free template for the dragon so you can make your own. You can find the link to the template and some tips here.

No sun to be expected in the next couple of days, but I couldn't wait for a chance to take nice pics. I just had to hare this with you as soon as the sleeve was on it.

ticker tape quilt

She's going to my daughter's room and was already named Lily. Nice to meet you too.

I've shown the beginnings of her when I wrote about the fun workshop Ruth of Charly and Ben's Crafty Corner taught at our branch of the Irish Patchwork Society. I made a point of finishing this quilt asap, but it did take me longer than I hoped.

The wallhanging measures 30 by 51 in. This is the so-called ticker tape technique, of which you can find numerous beautiful examples on Pinterest. By using the black background I wanted to give some of the stained glass feel. The wings, which a rainbow of almost-solids look more like stained glass:


Whereas the body, made of prints, does not really look that:


As in this technique the scraps are attached to an assembled quilt sandwich, the quilting of the image part is done while stitching, which is handy. So the decision was to be made only about quilting the background. I rejected the most obvious idea of doing it in black on black and instead decided to add more colour with my beloved YLI variegated thread which I have already used for several quilts.


variegated thread quilting

Of course it means you can see all the mistakes and awkward turns, but I feel the bright curves give the quilt more of a fairy-tale look (or psychedelic look, if you like ;)))

To add even more colour (and psychedelia) I used the brightest piece of fabric I possess for the binding. Funny how one corner turned out to be all blue.


All in all it was a fun project, and it turned out more impressive than I could ever expect, thank you Ruth!

Linking up to Show Off Saturday at Sew Can She
Slow Sunday Stitching at Kathy's Quilts
Main Crush Monday (Tuesday) at Cooking Up Quilts

Sunday, 23 April 2017

A Great Saturday

I spent a very exciting Saturday at the meeting of Eastern Branch of the Irish Patchwork Society. Bought some bits and pieces form the visiting shop, Fabric Matters, including my beloved YLI variegated threads.


I also couldn't resist a layer cake of beautiful "Shibori" collection by Moda. Wendy had a sample quilt on display made of this collection's charm pack.


I'm planning a quilt for my brother, so this collection of imitation shibori prints in shades of indigo seemed a great choice.


There was a great talk by Ruth Bourke of Charly and Ben's Crafty Corner about modern quilting.


And then, in the afternoon, Ruth held a workshop for us on the Ticker Tape technique, which was very interesting and inspiring. You can see Ruth's quilt of her dog Wilbur made in this technique in her blog here.


As it was just a half-day workshop, we could only start the process, but everybody enjoyed playing with scraps and I'm looking forward to seeing (at least some) finished quilts at the next month's meeting. I made my own pattern of a dragon and had a good start on it. After some more work at home, this is where I am now:


Admittedly she looks more like a dinosaur at the moment, but there are still wings and spines to come. Anyway, you can see she's a girl and I hope she's going to be a good girl. The process is fast and fun and hope to have her finished before I get overwhelmed with my college tasks again.

Linking up to Sunday Stash at Molli Sparkles
Main Crush Monday at Cooking Up Quilts
Related Posts Plugin for WordPress, Blogger...